The project is moving along. You'll notice two holes in the tail sides at the rear. The lower hole is a secondary mount for 1994 and newer frames. The upper hole is for 1993 and older frames. The '94 tab will be simply cut off for 1993 and older applications. The primary tail mount is that depression in the middle under that seat-it picks up the tab on the cross tube and the front is secured by tab behind the tank.
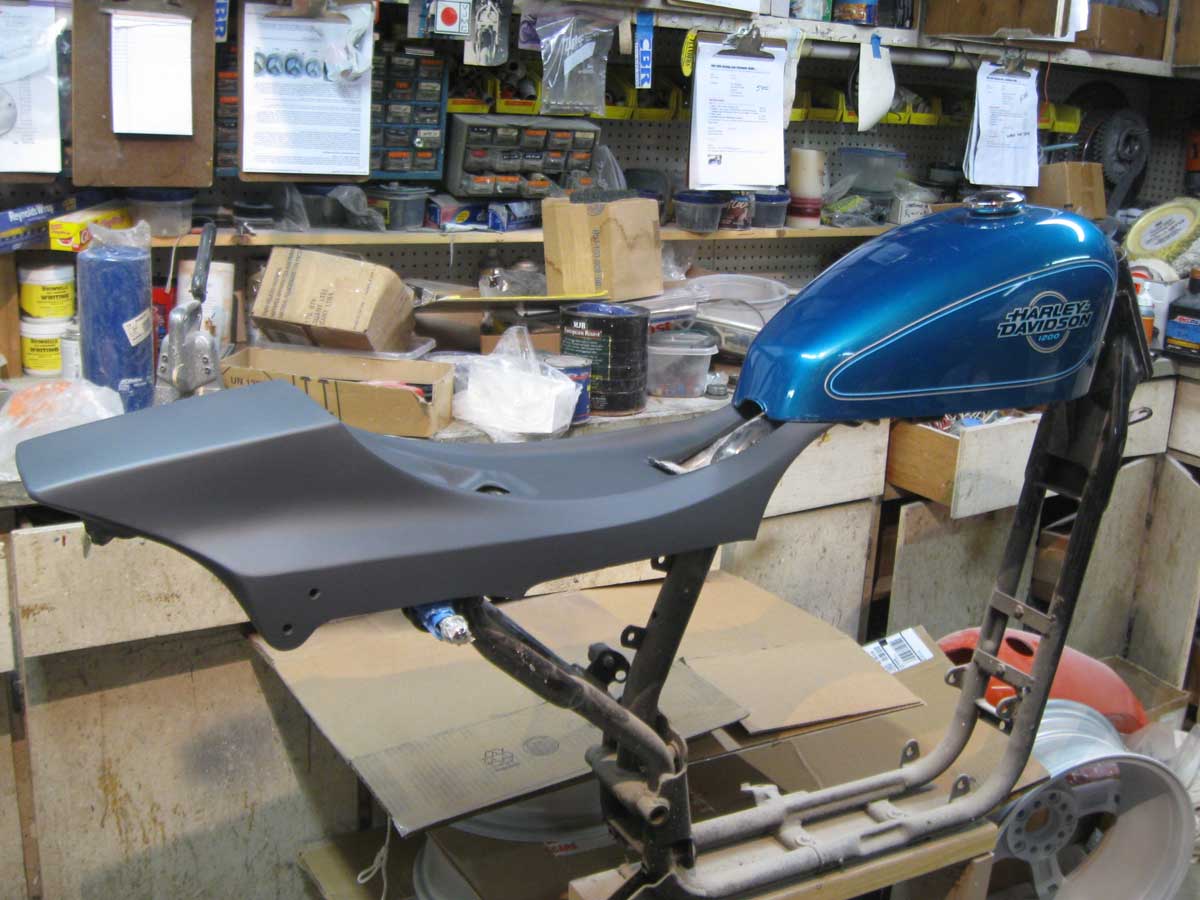

If you are wondering about the ridge around the seat cushion-a long time ago I learned that this hides the tail/cushion mating gap and helps blend the tail into the cushion.


The shock position on 1993 and older frames differs in location from 1994 and later frames therefore I will not be able to grind half holes for shock clearance. That something you can easily do with a 1" drum sander in your hand drill.
Work will now halt because I am waiting to make a mount for a nifty new LED taillight/brake light with... get this--turn signals. This will really clean up the back end of your bike. The use of a side license plate mount will be the finishing touch.
The side cover is basically done save for pre-mold finishing.
Challenge
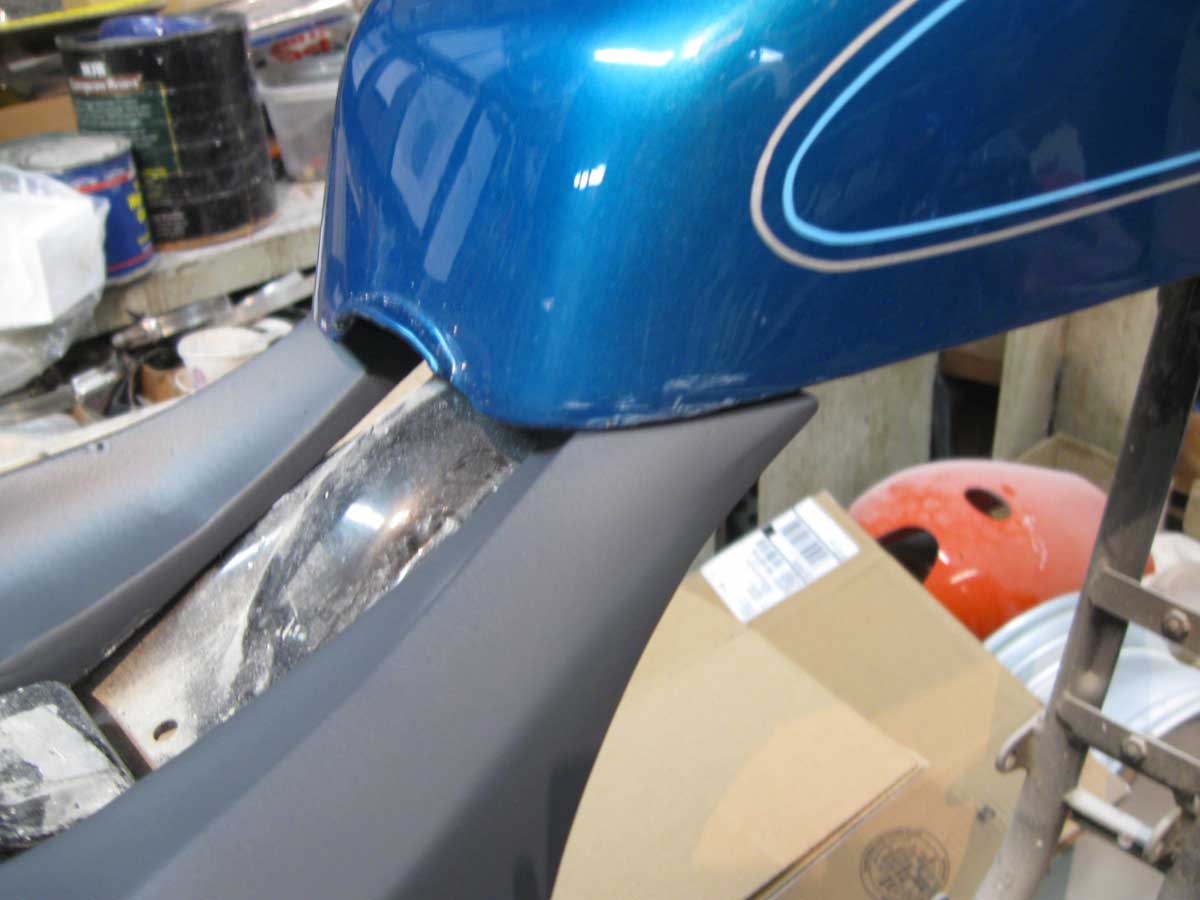
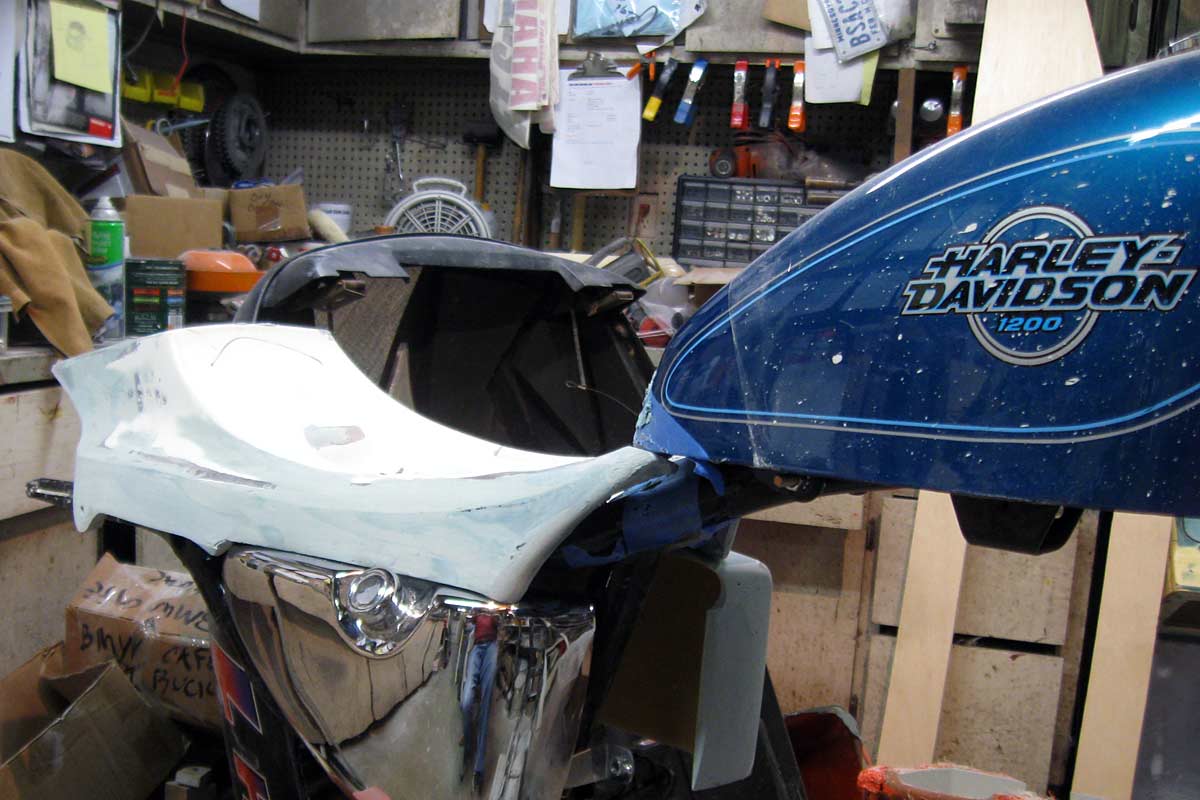
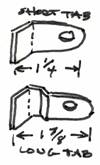 To my horror I discovered Harley makes at least two versions of their large peanut tank. It concerns the front mount tabs. A later version has a 1 7/8" bent tab and an earlier version has a shorter 1 ¼" short straight tab. I designed the tail around how a long tab tank sits on the frame. Those of you with short tab tanks will have to grind away the hidden portions of my two forward tail extensions that fit up under the tank.
Time crunching
Instead of making the seat base from a finished fender, I am going to make it from the tail as it is now. This will save about 30 days and we'll be that closer to production.
Question one for you
I have used the big peanut tank (3 gal.?) to make this tail. Is the small peanut tank the same in length and in shape at the rear as the bigger tanks?
Question two for you
I was going to offer tank and tail graphics to go with this new tail but I got to thinking that maybe Harley already offers graphics (as for their "R" models). Should I let you buy those or is there a need to design new ones. You tell me what you want in this department.
Thanks.
~ Phil
 It has been 56 days since we started the graphics project. I knew it wasn't going to be easy and that's how it turned out. This is the final design. For quality and fit reasons this is not a nuts-on exact RXL copy. [Don't worry about that jag in side stripe. You or you supplier will install graphics after hood and nose are installed and aligned.]
Now I have to modify the hood mold. I discovered I had to add depth to the nose edge to lift hood out of bumper tray by 5/8" or so.
I think we have solved the fastening of the hood front with Dzus fasteners-more on that after I do a search. Hopefully it can be hidden by the wide white strip that borders the hood deck and nose
~ Phil
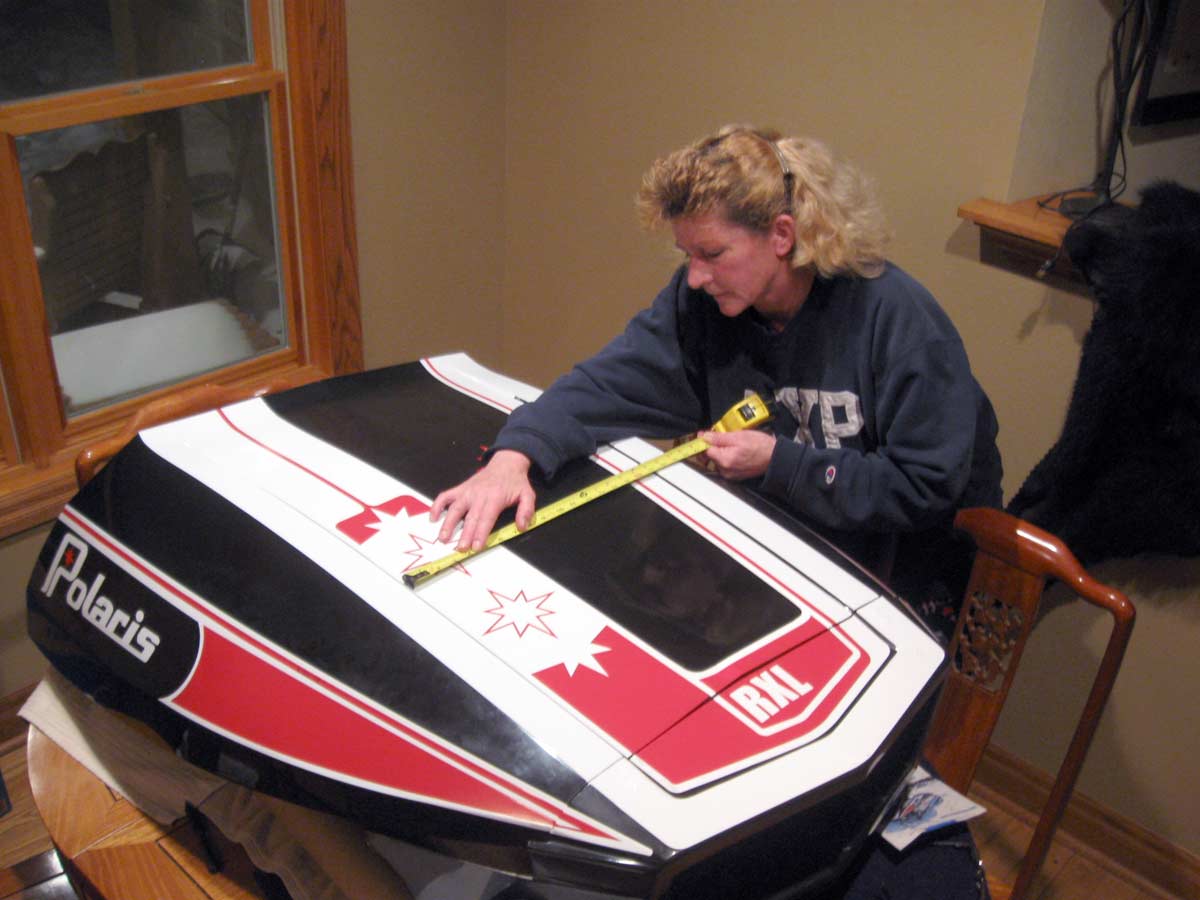
At this point we are in the middle of fine tuning the RXL graphics. It's not an easy task. We had to adapt the RXL theme to the precise shape of my RXL hood and nose. The various parts of this sticker package are keyed to the mold lines in the hood. Here Cece, my long time sign gal, is in round two of the fine tune process.
Now I told you that I am making changes to the original Polaris RXL graphics and I have but I challenge you and those who screamed "sacrilege" to see what I changed. (Note some elements of what you see in photo will be altered to look more like original). A happy note for you guys who will not use rear bumpers. The tunnel graphics will be made to fit bumper and bumperless Indys. You tell me at order time and we will cut (or not) to fit. Are we easy or what!
Cece gave me an idea of what kit will cost-it will about $249. Mind you this is for nine separate pieces in multiple colors. I will write installation instructions. If you don't have vinyl application experience you should seek the aid of a pro. I may offer this service-we'll see.
~ Phil
The DXR tail is pretty much roughed out as is the new battery side cover. I have finish work to do and the license plate/taillight mount to make. This will be part of the tail not a separate piece. I can do that by making a 2-part mould. I will report more when I have it.
Okay I laid out the graphics over the weekend. Now, I'm not going to apologize for modifying the original RXL graphics. They were not well executed at the factory. All I did was what they should have done at the time. This week I head out to Cece, my graphics gal, for the hard work to begin.


A little FYI... I just received notice of fiberglass resin increases. This may or may not effect Tim who makes the hoods. If there is a bump, I'll so note on my site and will send notice via this Report format.
Later.
~ Phil