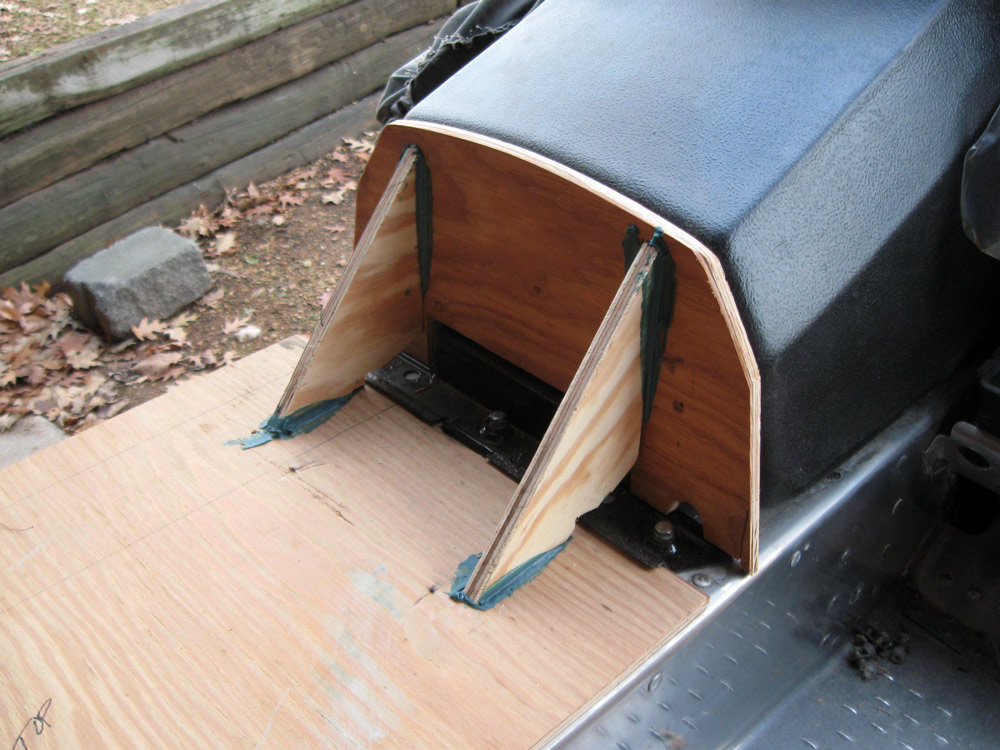
I show you continuing photos of seat mock up. When I got this far I realized the hump was too tall and I'm going to lower it by 1 ½" (see line on wood). At this point in time I am not sure whether I will be offering RXL seats.


There are several Indy gas tanks and that makes it hard to make as many matching seats. I may make a fiberglass hump so you can remake your seat. The decision on this will come my 44 advisors (guys who are on my list) whether they would want to spend somewhere around a $100- $125 for the hump then spend more on re-upholstery.
~ Phil
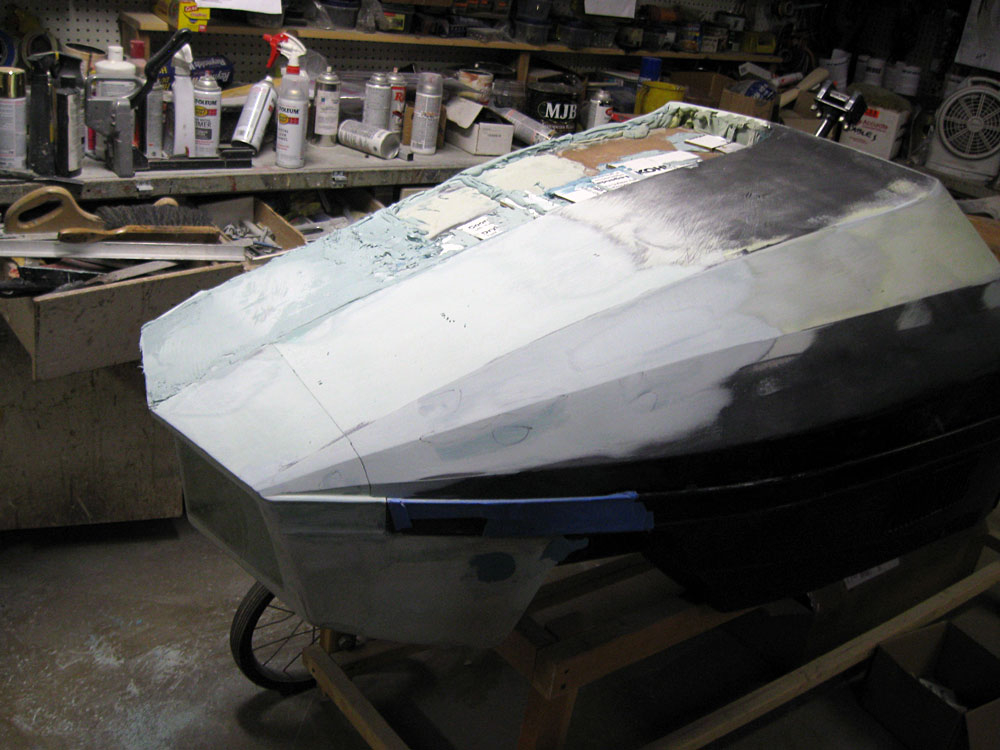
Over the last unit of time I have spent goodly hours on the RXL. Most of that time has been on the left front corner and blending the nose with the deck. You can now see how I intend to blend in the side bumper into the nose-one of you asked how I was going to do that.


I will make a space on the dash for the tach for those of you that want that hassle but it won't be noticeable. I will be making a bar mounted headlight bracket and I think I can include a tach mount in it.
 Well, I am back on the case. Over the last 2 weeks I have spent 3 full days on the RXL but don't have much to show. I finished roughing out the nose and am working on the dash--visually unexciting work.
As I make the dash, I will make a space for the tach but not the speedo/odo. Since the hood will detach completely with four bungees, it wouldn't make sense to include speedo because of the long cable. You'd be out on the lake working on the sled with the hood off, tripping all over the cable. That they could see from across the lake... "What's wrong with that guy? Is he drunk?"
Other photos are the beginnings of my seat base.

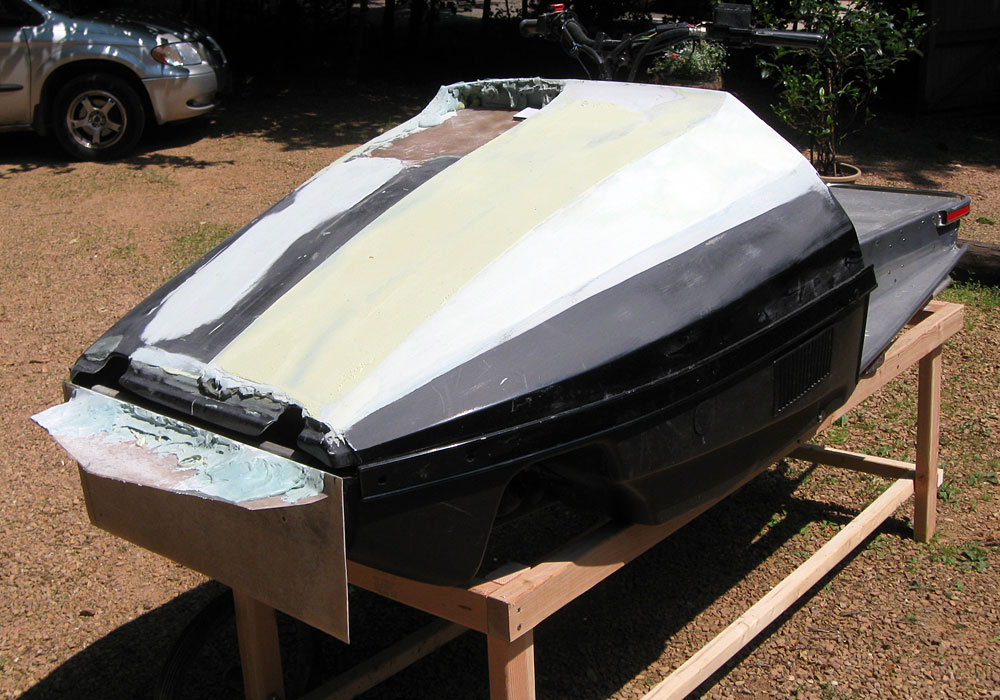
 Work this week was shaping the nose. It must be finished first because its position on the sled is fixed and the hood's position can be adjusted to some degree to the nose to achieve a flush fit. I didn't realize how big the nose piece would be-its 32" wide.
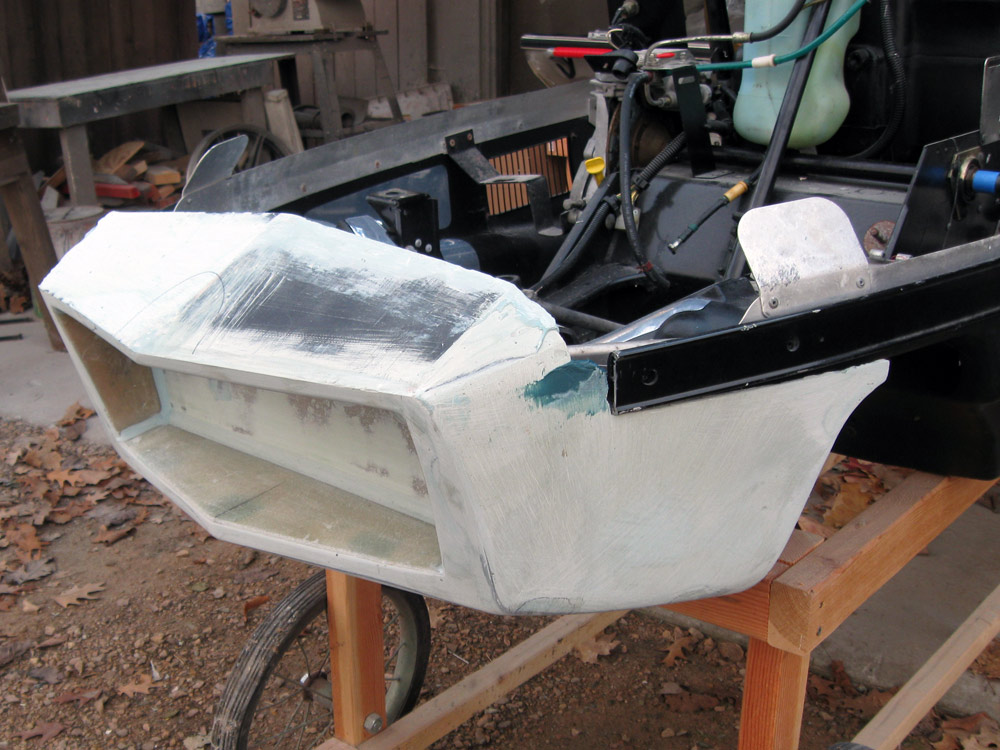
The scoop opening is tall enough to accept the projector heads light I will sell. I am going to carry the side bumper forward into the nose where it will gradually taper away.
The bottom of the nose is level with the lowest portion of the front Indy belly pan so you are going to have to pick your trails carefully-stay pretty much to groomed trails. Raw tundra bashing will likely have you calling me for a replacement nose.
In a meeting yesterday with my advisors, the Sayen family, I decided that I will make a replacement right side lower dash panel. It will have holes for; ignition, choke, accessory switch plus odo and tach. That way none of the electrics will be attached to the hood. Next time-more nose.


Hey board members you came thru in the last poll. I stopped counting at 11. The vote was 11 to 0 in favor of a seamless hood and nose. You guys are great-and it's kinda of fun to design a product with help from my potential future customers. I guess that's rather rare in any business.
After the work this week I have discovered good news/bad news. I won't be able to make a one piece hood and nose. Yes I could make it but it couldn't work, here's why. The nose is going to wrap under the side bumper about 10 inches back from the front edge of the bumper. If the nose were part of the hood it couldn't fit the sled because I am using the side bumper channel to anchor the hood. The hood drops down into the channel and the nose butts to the under side of the bumper-it can't work.
So here's my current thinking. I will make a separate hood and nose. I am going to eliminate the hinge. That way I can butt the hood to the back side of the nose. If I'm good, the joint between the two will only be 1/16". That will get us a seamless look in a practical way.
Ski-doo Mike and I have been talking about a headlight location. He said take it off the handle bars and put it in the nose. With a separate nose bolted to the front end, I will have the strength to support a light. This will be my goal.
One of the draw backs of a take off hood are instrument cables and wiring. They tether the hood to the sled and make working in the engine compartment more difficult. This is solvable two ways. The light in the grill eliminates the wiring issue. I'm reasonably sure I can come up with a small metal dashboard for gauges and idiot lights so they won't need to be attached to the hood. The dashboard would mount under the handle bar mount block, lower than the hood and over the tank.
 Progress
This week I filled in the left deck side and raised a side mold line so there's room for RXL side decals. I have also started roughing in the nose.